How to Choose the Best Timber Cladding Profile for Your Façade (Compared)
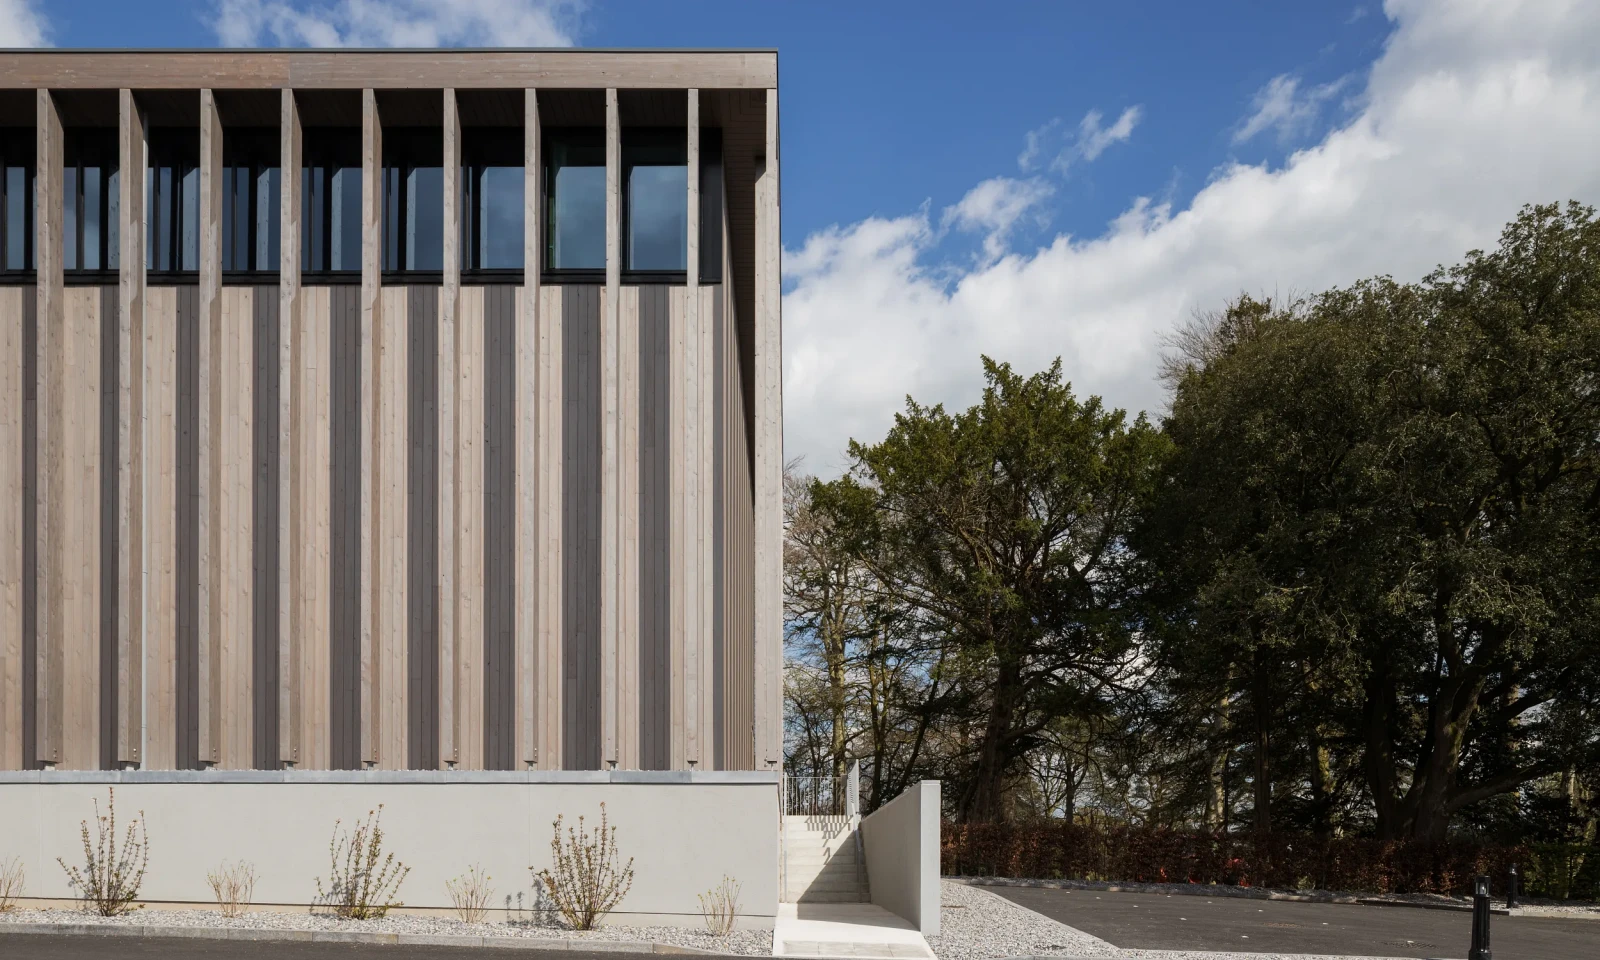
Timber cladding profiles influence far more than the appearance of a building. They determine the rhythm of the façade, the visibility of joints, the path of rainwater and the way boards are fixed to the supporting structure.
The right choice depends on the building form, exposure, cavity arrangement, finish and maintenance approach. This guide compares the main considerations for selecting exterior timber cladding in Ireland.
What a Profile Actually Decides
A cladding profile is the shaped section of each board. It controls how boards meet, how much shadow they create and how effectively they shed water.
Tongue-and-groove and shiplap profiles create a more closed, orderly façade. Their overlapping or interlocking joints reduce the direct exposure of the board edges. Square-edged and open-joint profiles create more visible shadow lines and a stronger sense of separation between boards.
The profile also affects movement. Timber responds to changes in moisture and temperature. The joint must allow for this movement without opening excessively or restricting the board.
Fixing and ventilation are equally important. Exterior timber cladding should form part of a ventilated rainscreen system, with a drained cavity behind the boards. The profile, batten layout, fixing method and cavity depth must be considered together.
Corell's timber cladding profiles are developed for architectural applications where appearance and detailing need to work together.
Board Orientation: Vertical And Horizontal
Vertical Cladding
Vertical boards are often the performance-led choice where exposure is higher. Water drains along the grain in a direct path down the face, and there is no horizontal ledge or lap for water to sit on, wick into or splash back from.
This makes the drainage path more straightforward and less dependent on lap geometry and drip details being executed perfectly. Vertical boards also suit contemporary façades, gables, entrances and buildings with strong vertical proportions where that direction supports the design intent.
The batten arrangement needs more attention. Horizontal battens support the boards, but a counter-batten arrangement may be required to maintain a continuous vertical drainage and ventilation path behind them.
The base detail must still include a suitable drip and sufficient separation from ground or adjacent surfaces.
Horizontal Cladding
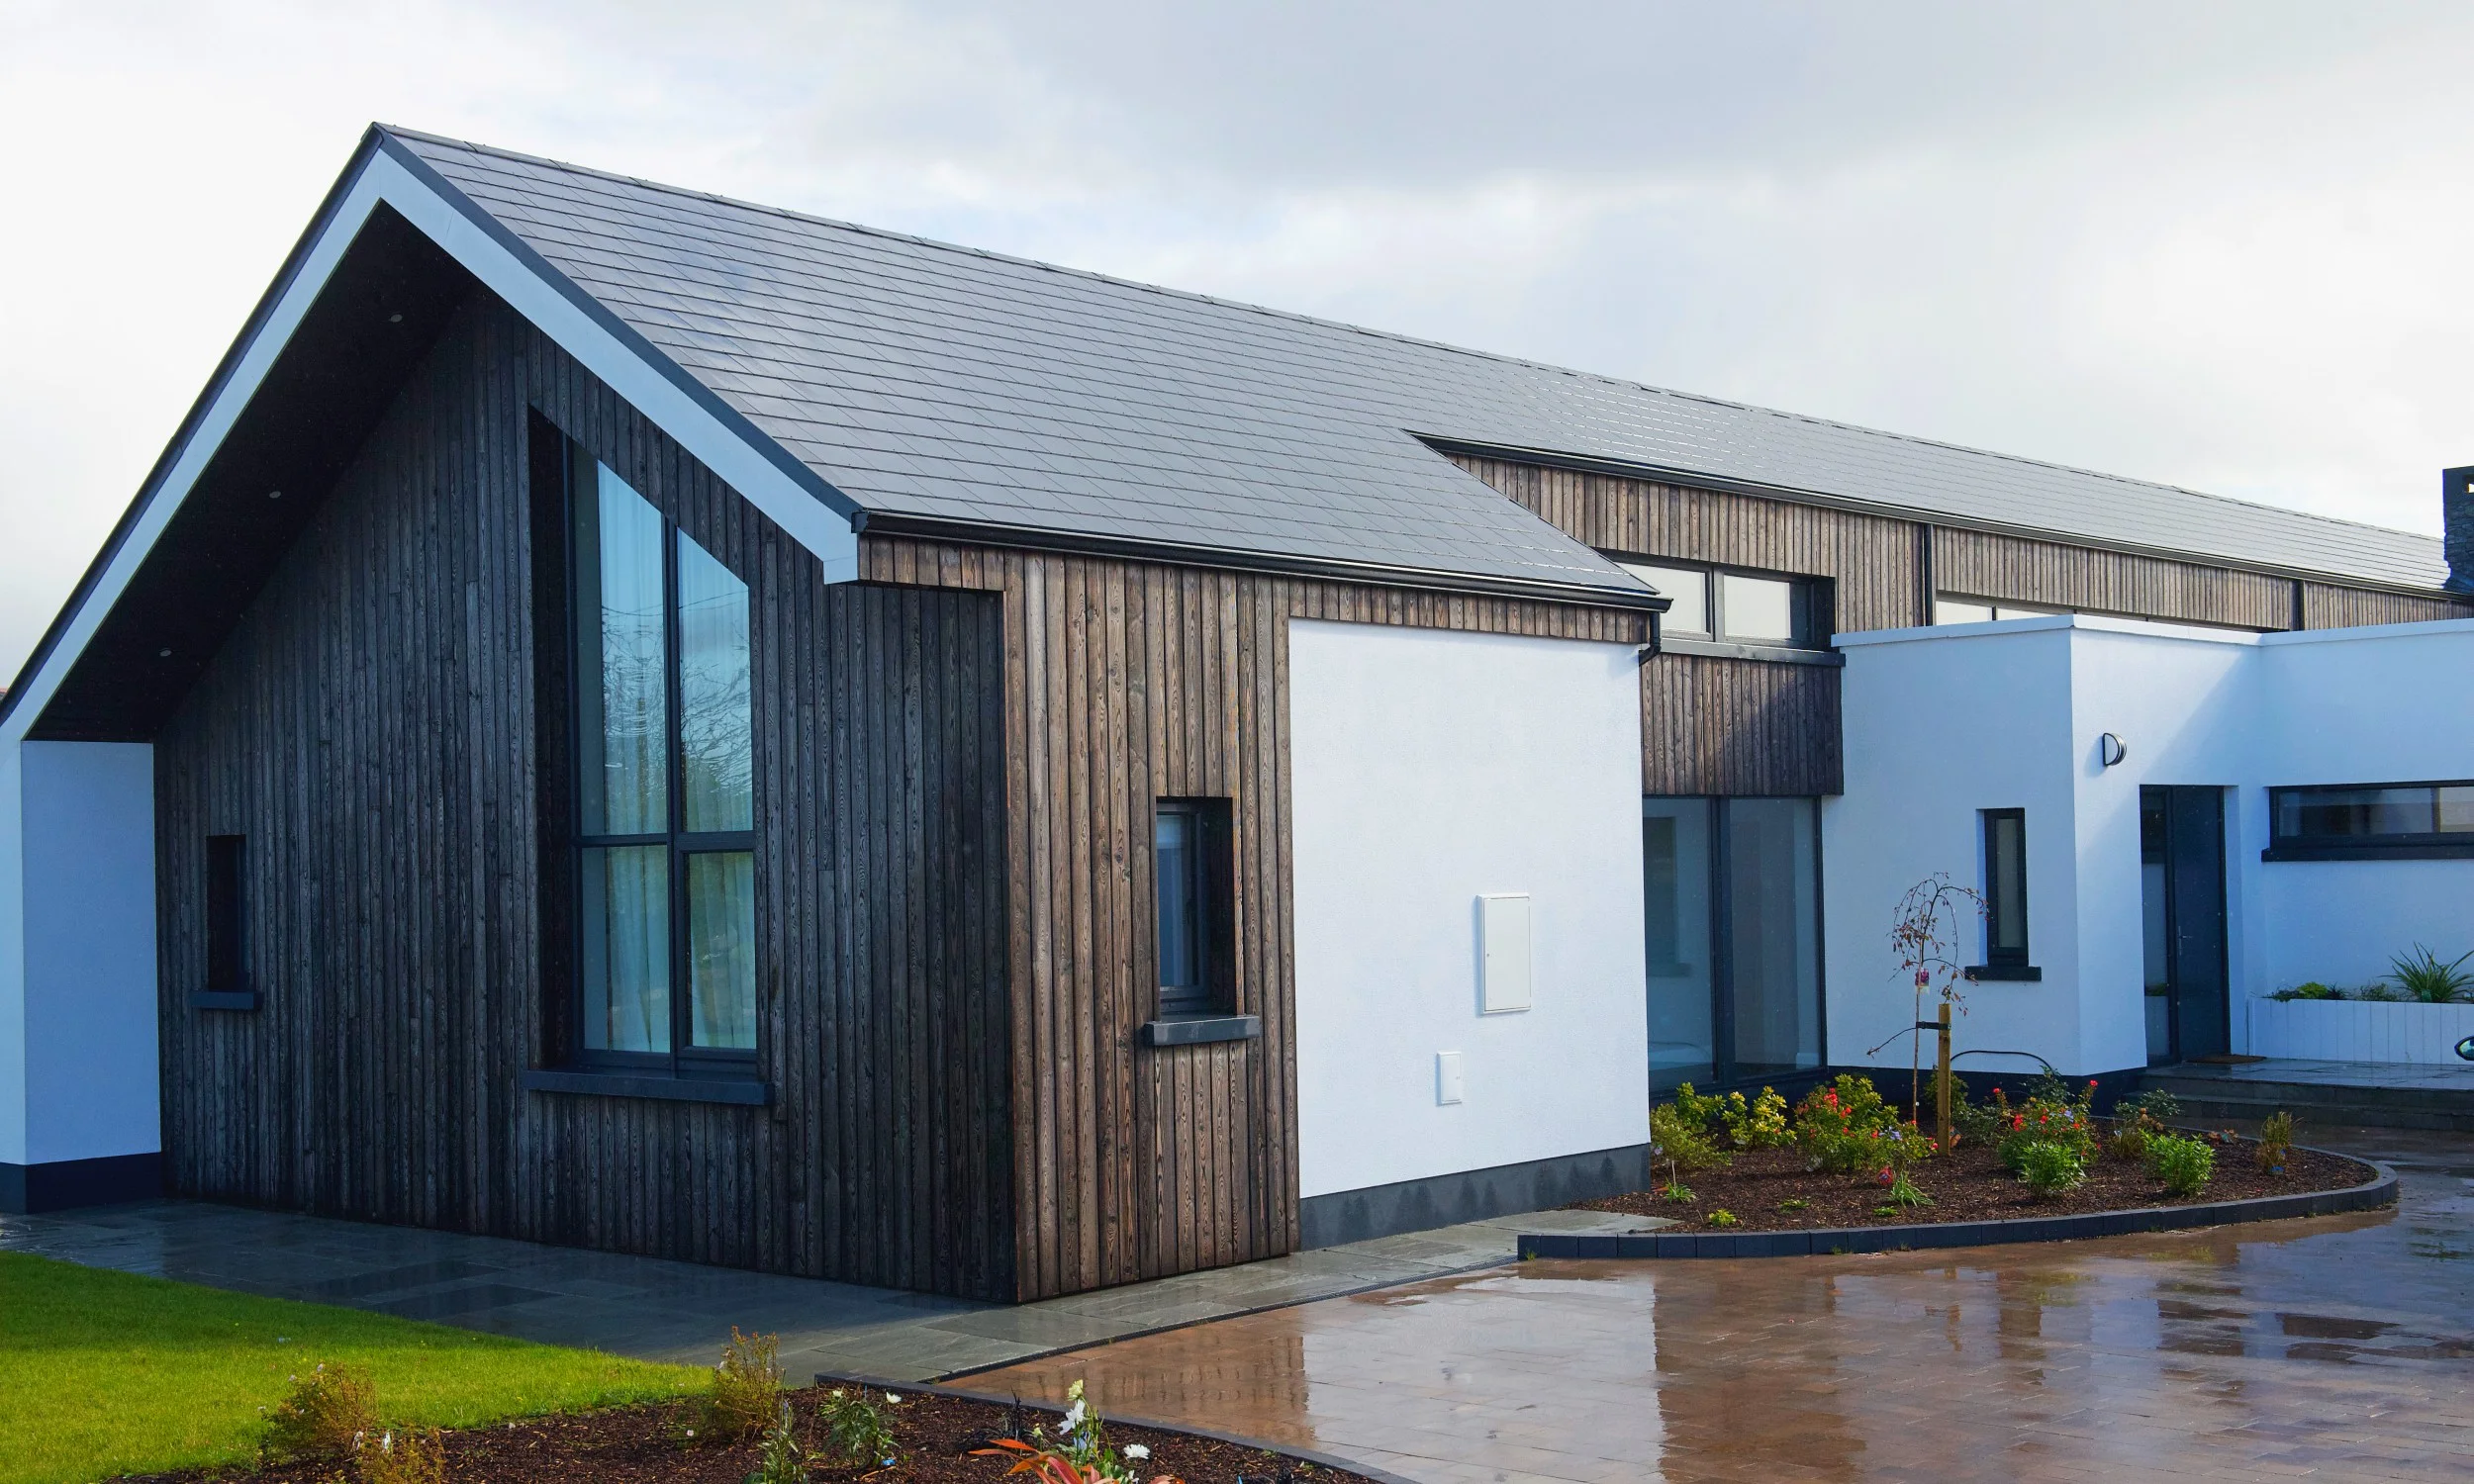
Horizontal boards create a strong lateral rhythm. They can make a building appear broader and work well across long elevations or low, linear forms.
Water naturally runs across the face and down the overlap. Shiplap, feather-edge and some tongue-and-groove profiles are commonly used in this orientation because their joints can be detailed to shed surface water.
Horizontal cladding performs well where the profile is chosen for the exposure and where laps, drips and board ends are detailed correctly. Its performance depends more on correct detailing than on the direction itself.
Horizontal cladding usually fixes to vertical battens. These support the boards across their width and allow water to drain freely down behind the cladding. Every board end should be supported, particularly around openings, corners and changes in elevation.
This arrangement can simplify some window and door details. It can also produce more pronounced horizontal shadow lines, depending on the profile depth.
Diagonal Cladding
Diagonal cladding is rarely specified and is best treated as a project-specific exception rather than a standard orientation.
It creates more complex junctions around battens, board ends, corners and openings, so drainage, support and detailing should be assessed case by case.
Open Joint Versus Closed Joint
Closed-joint profiles include tongue-and-groove, shiplap and overlapping feather-edge boards. They create a calmer, more continuous surface and provide greater protection to the joint between boards.
They remain part of a rainscreen. A closed profile does not replace the drained and ventilated cavity behind the cladding. The wall build-up must still manage water, airflow and drying.
Open-joint profiles use a deliberate gap between boards. They create a stronger shadow effect and can make the façade feel lighter and more layered. They are suitable for screening, brise-soleil applications and contemporary elevations where the backing layer is intended to remain partially visible.
An open joint also admits some wind-driven rain by design. The backing wall must therefore provide the required weather protection, while the cavity allows drainage and airflow. Insect mesh should be used where necessary without restricting the net ventilation area.
For exposed Irish elevations, a closed or carefully detailed overlapping profile is often the more controlled choice. Open joints require more coordination between the cladding, membrane, cavity, flashings and supporting structure.
Surface Profile And Board Face
The face of the board changes how the façade reads in different light. Smooth gives a clean, even face with sharper lines. It can make colour appear more uniform across the elevation.
Barnwood is a deeply brushed surface that opens the softer fibres of the timber and creates a more tactile appearance. Rift is a roughened, saw-lined texture that introduces fine linear shadowing. Yakisugi is a charred and brushed surface with darker depth and natural variation.
Shadow-gap profiles use a recessed or separated joint to produce a consistent dark line between boards. They work well where the façade is intended to have a precise, panel-like character.
Secret-fix options reduce visible fixings and produce a more uninterrupted surface. They require accurate machining and a fixing system suited to the profile, board thickness and substrate.
Texture also interacts with coatings. Brushed and charred surfaces absorb and reflect finish differently from smooth boards. A darker coating will emphasise recesses and shadow lines, while a lighter finish will reveal the difference between board faces more clearly.

Corell carries out machining, texturing and finishing in-house in Ireland. The thermal modification process itself takes place before the timber reaches Corell. Avara® is then machined and finished for its intended architectural application.
Section, Thickness And Span
Profile depth, board width and thickness affect both appearance and performance.
A deeper profile produces stronger shadow lines. It may also require more space within the cavity and a more substantial fixing arrangement. A narrower board creates a finer rhythm and generally results in more frequent fixings and joints across the façade.
Wider boards can create a quieter appearance, but they may show more movement across their face. Narrower, thicker boards are often easier to control in exposed conditions, subject to the timber species and manufacturer's guidance.
Support centres and maximum board spans should be set by the project-specific installation guidance for the selected profile, thickness and exposure. These should be confirmed with the supplier rather than assumed from generic figures.
Final board thickness and batten spacing should be checked against wind exposure, building height, board profile, timber movement, fixing edge distances and the project-specific installation guidance.
Stainless steel fixings are recommended for exterior timber cladding. Visible fixing can provide a straightforward and robust installation. Secret fixing can deliver a cleaner appearance but places greater demands on profile geometry and installation accuracy.
The timber cladding detailing and installation guidance should be reviewed before the profile is finalised.
Profile Choice, Finish And Weathering
Profile and finish should be selected as one design decision. The same board section can appear restrained with a smooth, pale coating or more substantial with a dark, brushed surface.
Textured finishes create additional highlights and shadow. They can make narrow boards feel more active and can soften the uniformity of a large elevation. Darker finishes absorb light and make the joint pattern more important.
Yakisugi creates a charred, architectural surface with depth and natural variation. Where a coating is properly applied, including a charred finish, it does not peel, blister or flake. Sanding is never required as part of maintenance. Maintenance consists of inspection, cleaning and reapplication of the specified coating system where required, rather than abrasion.
Untreated timber will weather naturally. Its colour change will vary with orientation, overhangs, surrounding buildings and local exposure. Composite materials may retain a more uniform manufactured appearance, but their repetitive patterns and limited board-to-board grain variation can make large façades feel flat. They do not provide the same depth, tactile quality or natural variation as real timber.
Natural timber can also be restored continuously. Boards can be cleaned, recoated or locally renewed to return the surface closer to its original appearance. This distinguishes real wood from composite materials, which cannot be restored in the same way once the surface has been damaged or heavily weathered.
Corell's timber cladding finishes include Smooth, Barnwood, Rift and Yakisugi surfaces. Physical samples are important because texture, grain and coating interact differently in changing daylight.
Selection In Practice
A practical profile review should cover:
- Orientation: Confirm whether vertical or horizontal boards support the building's proportions and drainage strategy.
- Diagonal Cladding: Where considered, treat it as a rarely specified option and assess it case by case.
- Exposure: Consider prevailing wind, driving rain, coastal conditions, solar exposure and sheltered areas.
- Cavity and Battens: Confirm the ventilated cavity, drainage route, batten direction and counter-batten arrangement.
- Joint Type: Select closed, overlapping or open joints according to weather protection, shadow lines and backing-wall requirements.
- Fixing Method: Establish whether the profile is face-fixed or secret-fixed and confirm suitable external fixings.
- Section and Span: Check board width, thickness, support centres and movement allowance against the manufacturer's guidance.
- Finish: Select the profile, texture, colour and coating as a coordinated system.
- Maintenance: Define whether the timber will retain a controlled colour or weather naturally.
- Samples and Mock-Ups: Review physical boards and, where the façade is substantial, prepare a representative mock-up.
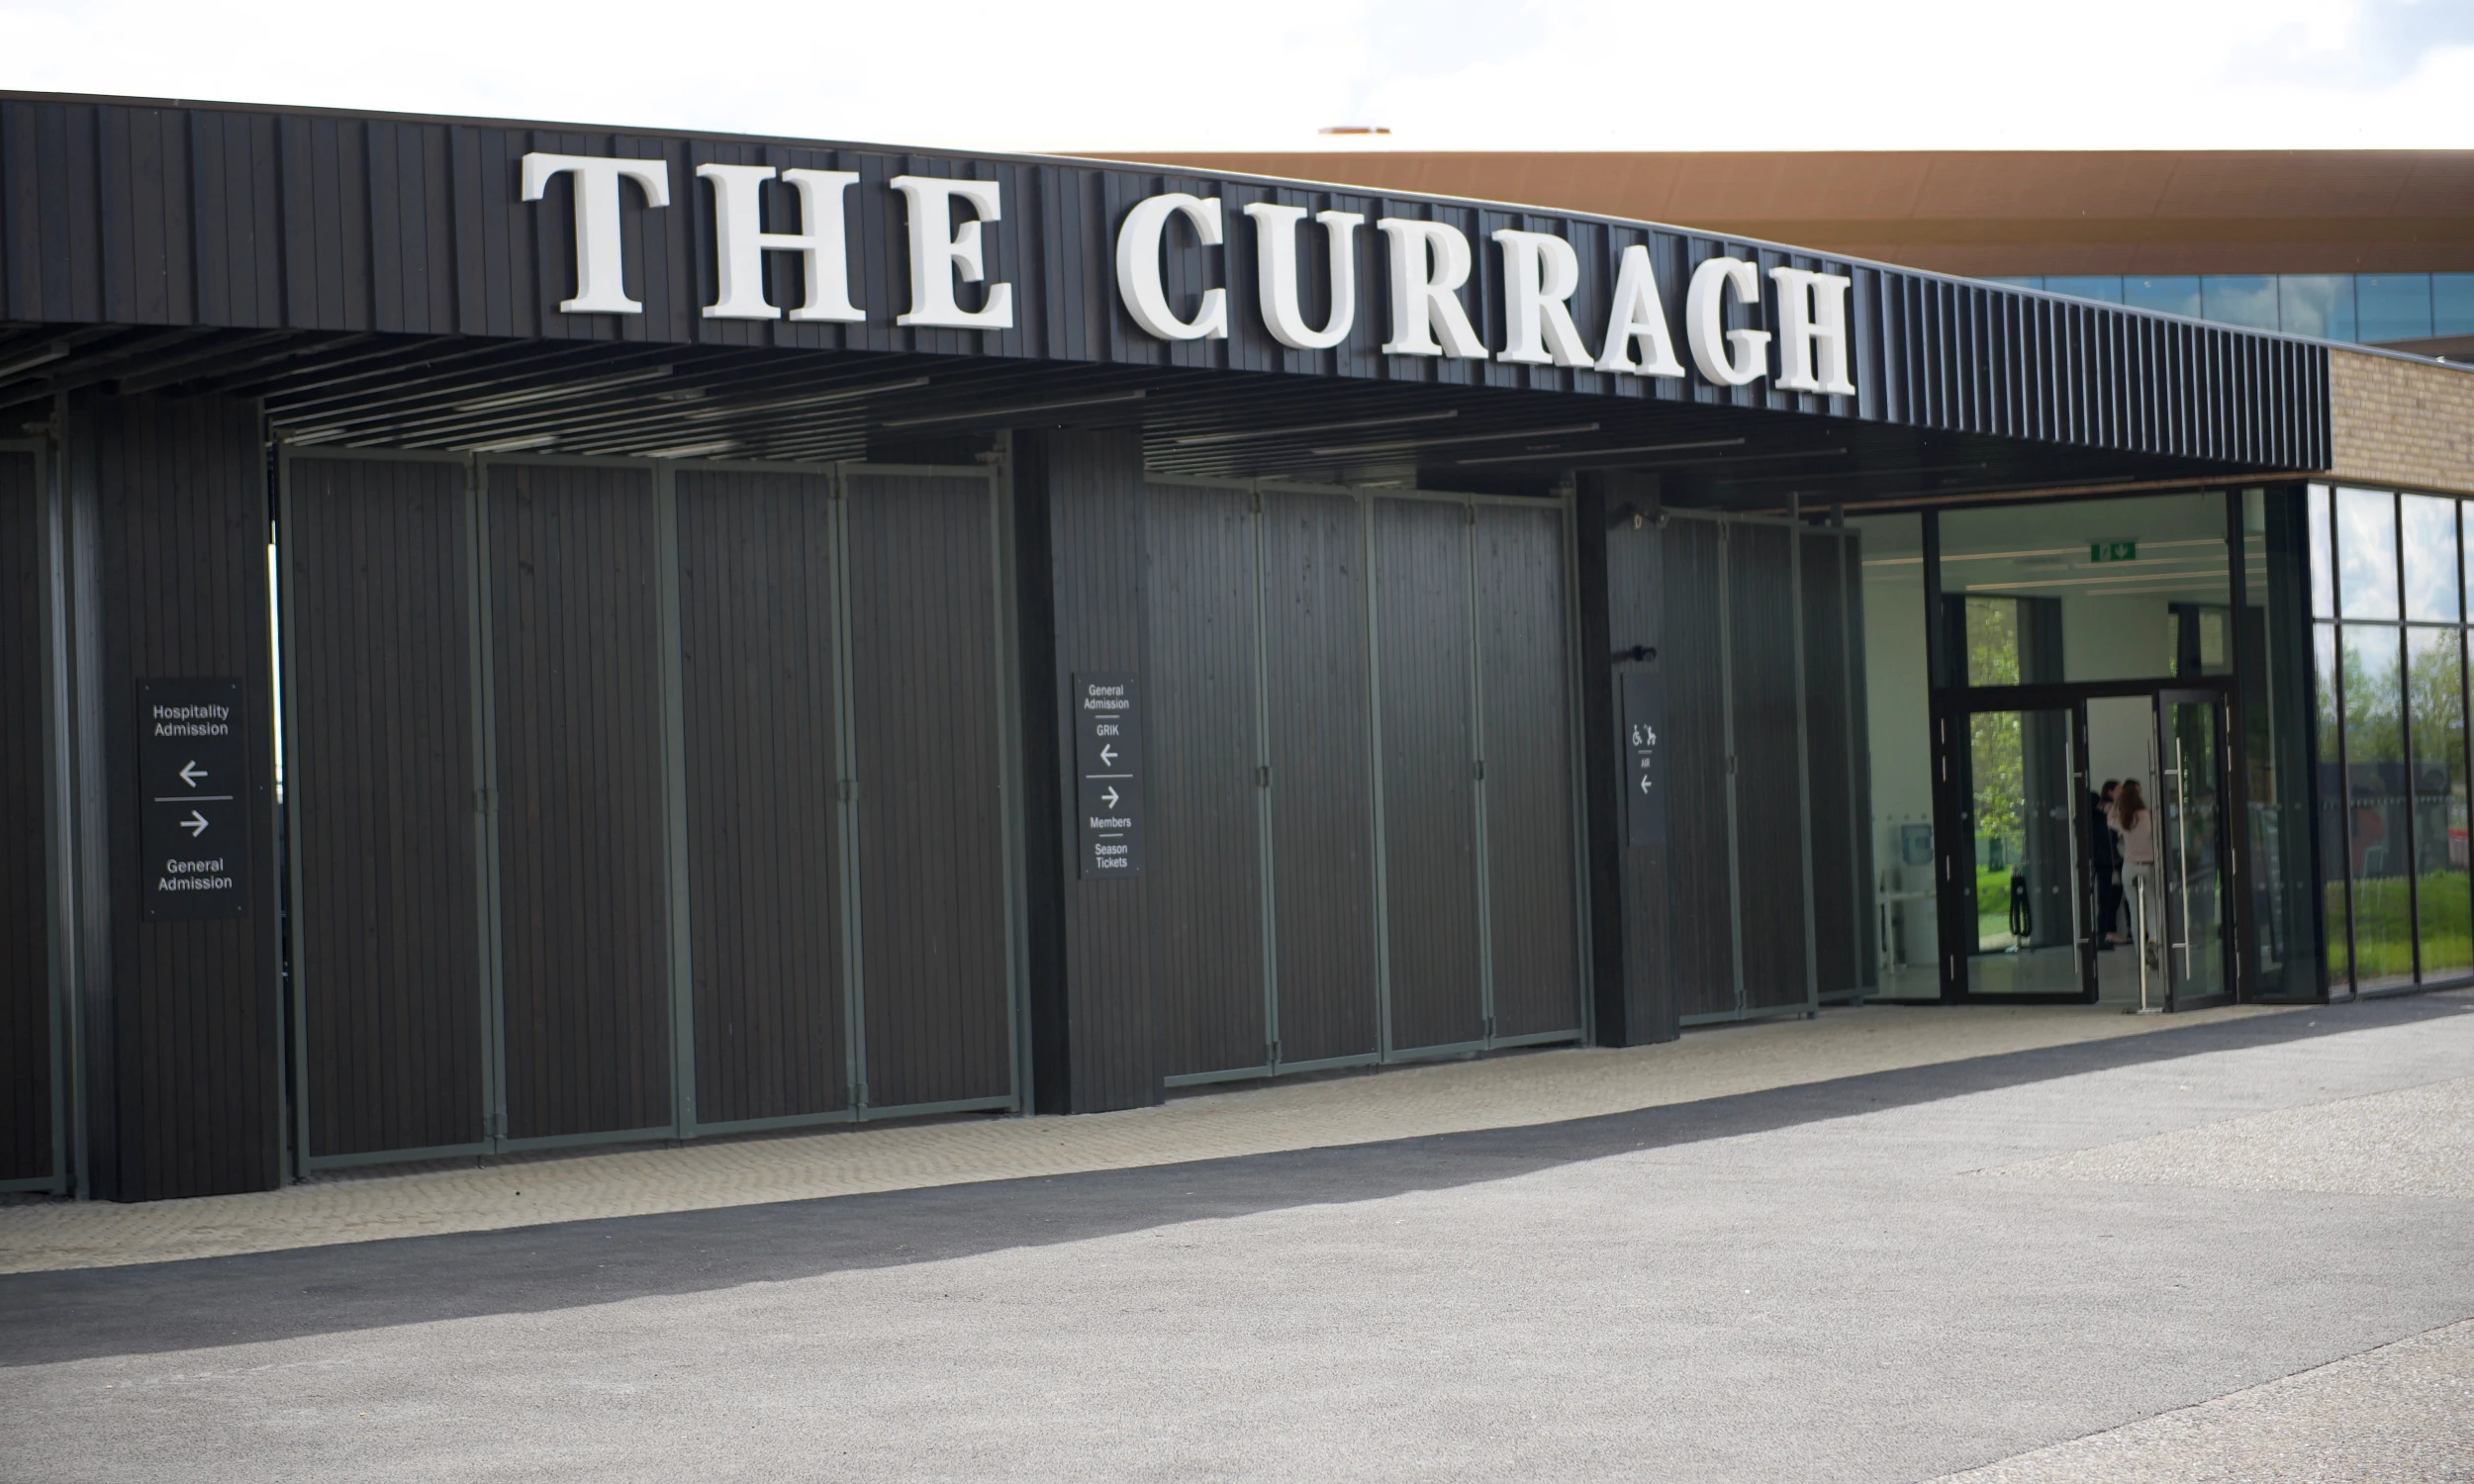
A successful timber façade is not based on profile alone. It combines board direction, joint geometry, cavity design, fixing, finish and detailing into one coordinated system.
Avara® thermally modified timber is designed for this approach. It combines improved dimensional stability with the natural grain and tactile quality of real wood. Corell completes machining, texturing and finishing in-house in Ireland, supporting consistent control from selected timber through to the finished cladding.

© 2026 Corell Architectural Timber Ltd.
All rights reserved.